
[Blog] Disqus 댓글 등록 및 검색 기능
※ 본 게시글은 minimal-mistakes-jekyll 테마를 적용한 후 진행하였습니다.
Disqus 가입 후 로그인
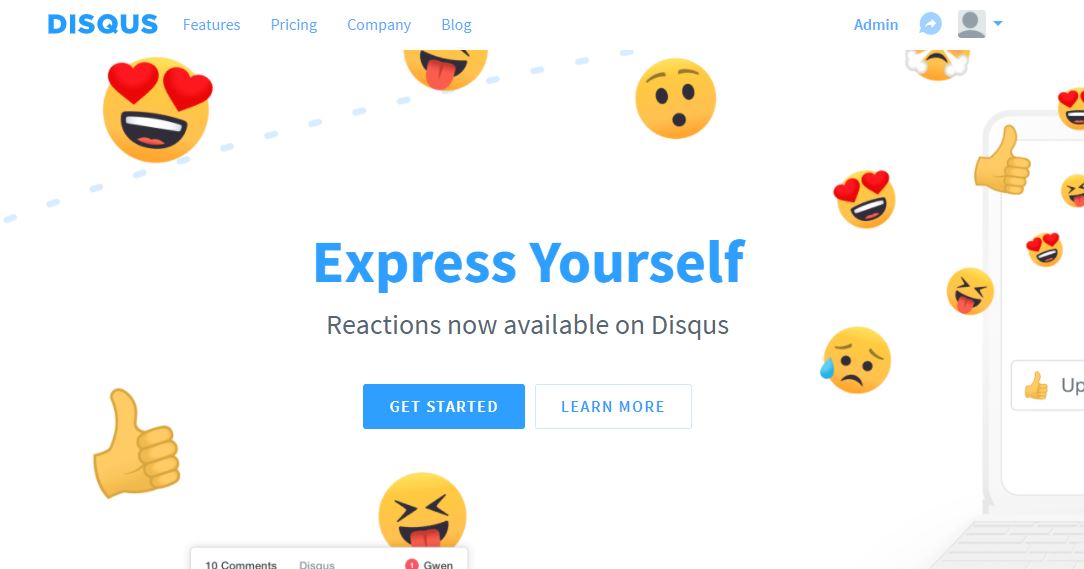
disqus 사이트에 접속하면 귀여운 얼굴(?)들과 함께 GET STARTED라는 버튼이 보인다. 버튼을 눌렀을 때
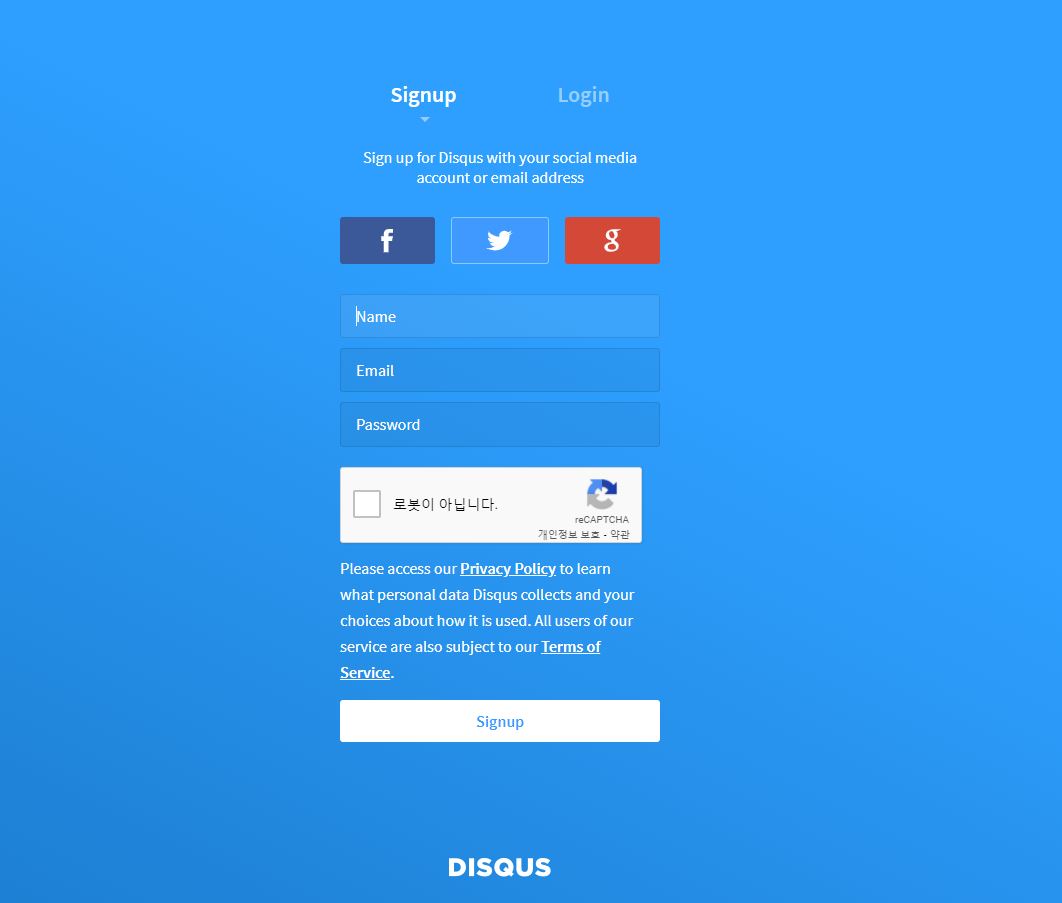
회원가입 화면이 뜬다면 회원가입을,

활용 목적이 뜬다면 ‘I want to install Disqus on my site’를 클릭한다.
정보 입력 및 플랫폼 선택
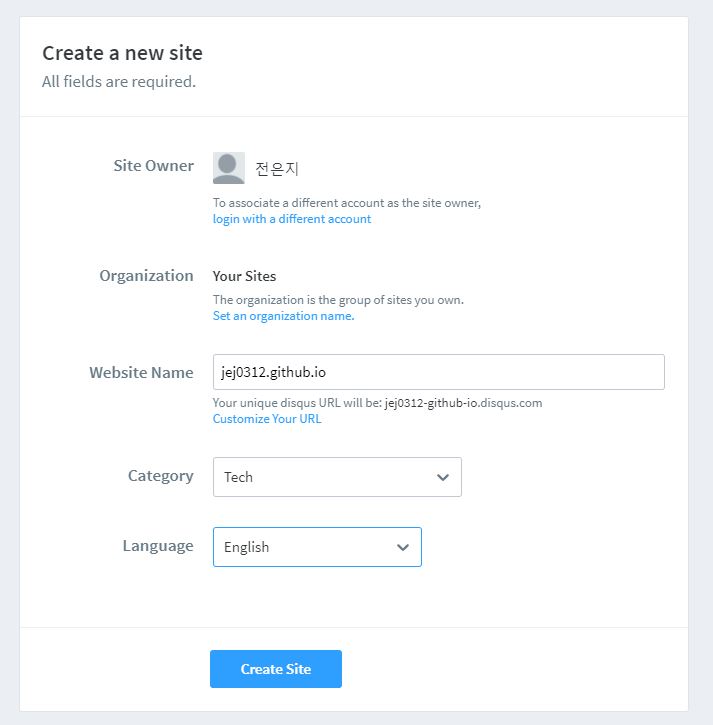
그 후, 본인의 정보를 입력한다. Website name에는 본인의 github 블로그 주소나 원하는 이름을 입력한다. 나중에 이 이름을 사용해서 적용할 것이기 때문에 기억하도록 한다.
‘Create Site’를 클릭했을 때 Plan을 설정하는 화면이 뜬다면 가장 아래의 ‘Basic Plan’을 선택(Subscribe Now)하면 된다.
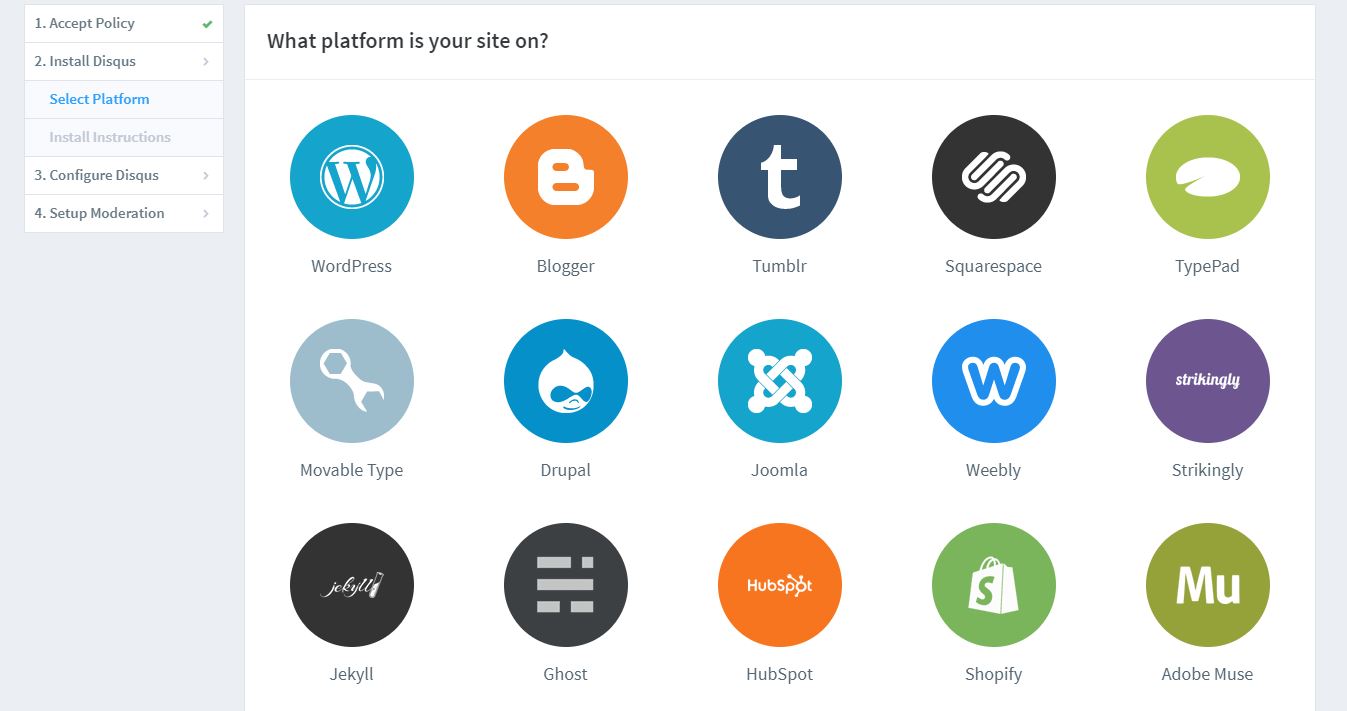
사용할 플랫폼을 선택한다. 본인의 블로그가 jekyll이라면 ‘Jekyll’을 선택한다.

어떻게 post에 적용하는지와 관련된 내용이 나오는데 우선은 ‘Configure’ 버튼을 눌러 넘어간다.
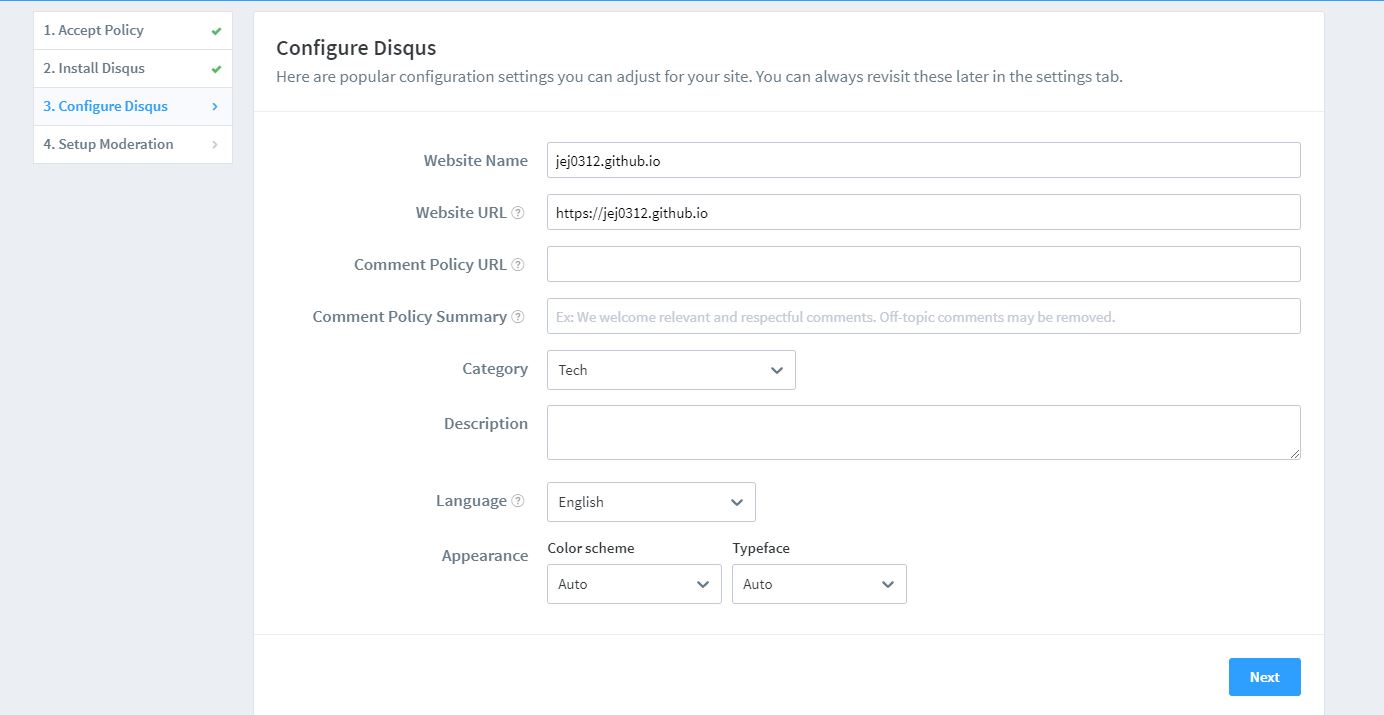
여기서 Website Name은 이후 ‘short name’으로 불린다. Website URL에는 본인의 github 블로그 주소를 입력한다.
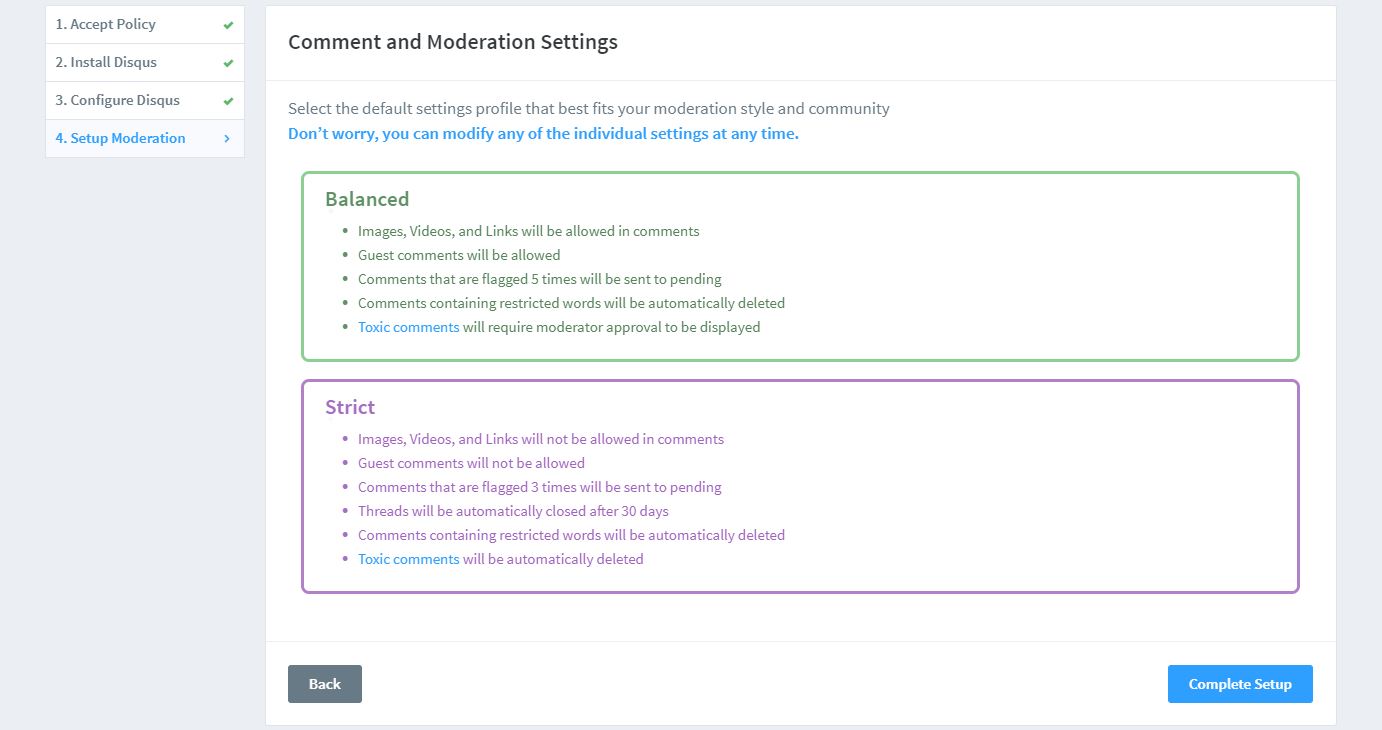
다음을 누르면 이런 화면이 뜨는데 ‘Balanced’를 클릭하고 ‘Complete Setup’을 진행한다.
도메인 적용
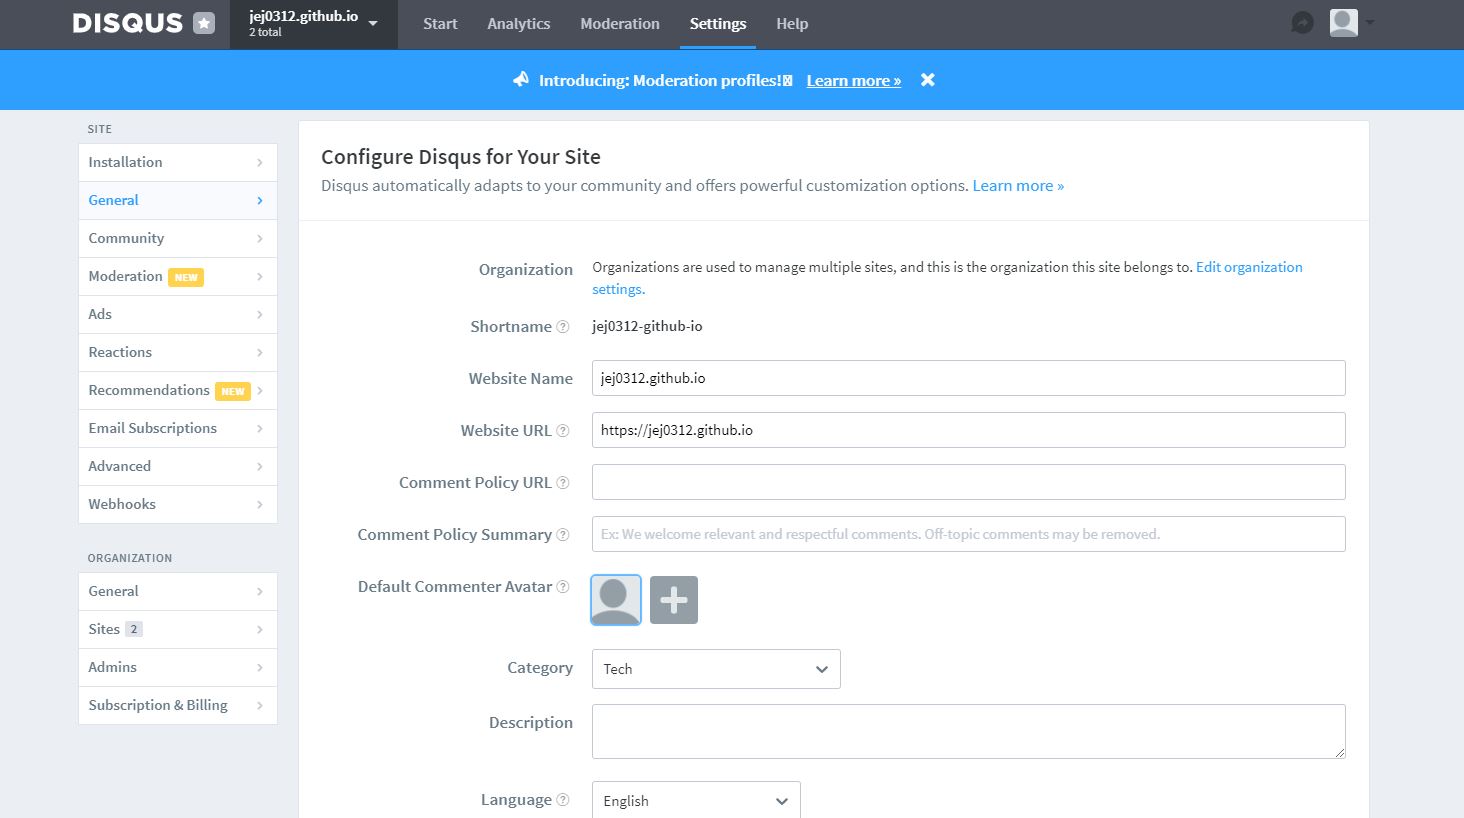
우선, 제대로 정보가 입력되었는지는 https://본인이-정한-shortname.disqus.com/admin/settings/general/에 접속하여 확인할 수 있다.
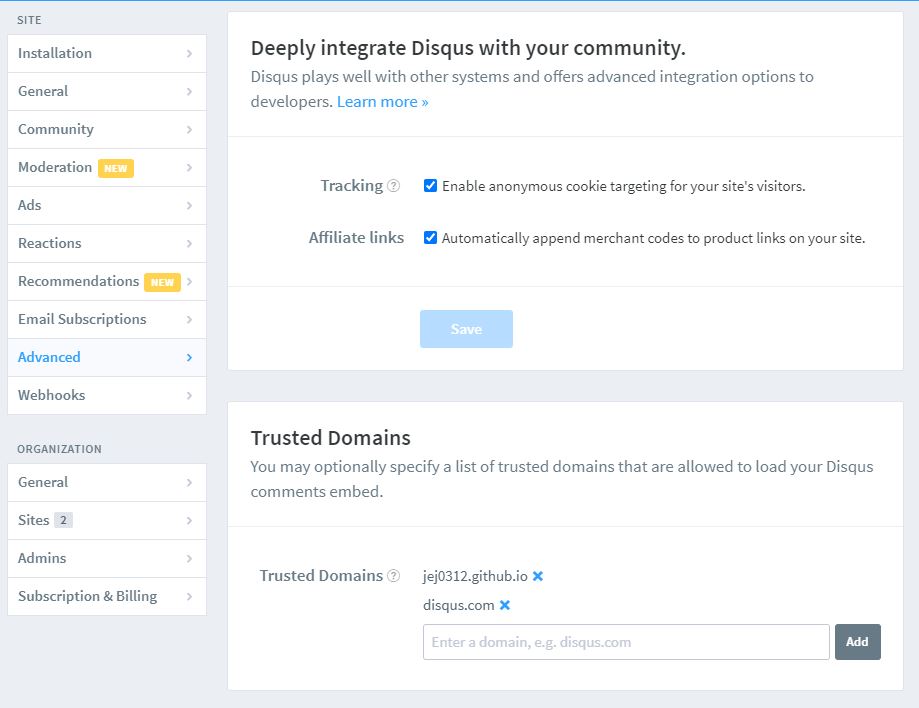
그 다음에는 왼쪽 옵션 중 Advanced에서 Trusted Domains에 ‘disqus.com’과 본인의 블로그 주소를 입력한다. 적용 후 “We were unable to load Disqus. If you are a moderator please see our troubleshooting guide.”라는 오류가 뜰 경우 이 부분을 제대로 하지 않았을 가능성이 높다.
여기까지 진행한 후에는 우리의 Jekyll 테마에서 수정해주어야 한다.
Jekyll 테마 수정
총 세 가지를 수정해주어야 한다.
1. _config.yml
_config.yml 파일에서 댓글 관련 부분을 수정해준다. provider은 ‘disqus’로 설정하고, shortname은 앞서 등록한 Website Name을 입력한다.
comments:
  provider               : "disqus"
  disqus:
    shortname            : "jej0312-github-io"
2. post.html
_layouts 폴더를 다음과 같은 내용으로 수정한다.
    ---
    layout: default
    ---

    <article class="post h-entry" itemscope itemtype="http://schema.org/BlogPosting">

    <header class="post-header">
        <h1 class="post-title p-name" itemprop="name headline">{{ page.title | escape }}</h1>
        <p class="post-meta">
        {%- assign date_format = site.minima.date_format | default: "%b %-d, %Y" -%}
        <time class="dt-published" datetime="{{ page.date | date_to_xmlschema }}" itemprop="datePublished">
            {{ page.date | date: date_format }}
        </time>
        {%- if page.modified_date -%}
            ~
            {%- assign mdate = page.modified_date | date_to_xmlschema -%}
            <time class="dt-modified" datetime="{{ mdate }}" itemprop="dateModified">
            {{ mdate | date: date_format }}
            </time>
        {%- endif -%}
        {%- if page.author -%}
            • {% for author in page.author %}
            <span itemprop="author" itemscope itemtype="http://schema.org/Person">
                <span class="p-author h-card" itemprop="name">{{ author }}</span></span>
                {%- if forloop.last == false %}, {% endif -%}
            {% endfor %}
        {%- endif -%}</p>
    </header>

    <div class="post-content e-content" itemprop="articleBody">
        {{ content }}
    </div>

    {%- if site.disqus.shortname -%}
        {%- include disqus_comments.html -%}
    {%- endif -%}
3. disqus_comments.html
_includes 폴더에 disqus_comments.html을 생성하고, 내용은 다음과 같이 작성한다. 본인의 shortname 부분은 수정해야 한다.
    {% if page.comments %}
    <div id="disqus_thread"></div>
    <script>

    /**
    *  RECOMMENDED CONFIGURATION VARIABLES: EDIT AND UNCOMMENT THE SECTION BELOW TO INSERT DYNAMIC VALUES FROM YOUR PLATFORM OR CMS.
    *  LEARN WHY DEFINING THESE VARIABLES IS IMPORTANT: https://disqus.com/admin/universalcode/#configuration-variables*/
    /*
    var disqus_config = function () {
    this.page.url = PAGE_URL;  // Replace PAGE_URL with your page's canonical URL variable
    this.page.identifier = PAGE_IDENTIFIER; // Replace PAGE_IDENTIFIER with your page's unique identifier variable
    };
    */
    (function() { // DON'T EDIT BELOW THIS LINE
    var d = document, s = d.createElement('script');
    s.src = 'https://본인이-정한-shortname.disqus.com/embed.js';
    s.setAttribute('data-timestamp', +new Date());
    (d.head || d.body).appendChild(s);
    })();
    </script>
    <noscript>Please enable JavaScript to view the <a href="https://disqus.com/?ref_noscript">comments powered by Disqus.</a></noscript>

    {% endif %}
구글/네이버 검색 가능하도록 변경
게시글에 대해 구글 검색이 가능하도록 하려면 Google Search Console에 등록해야한다.
Google Search Console 도메인 등록
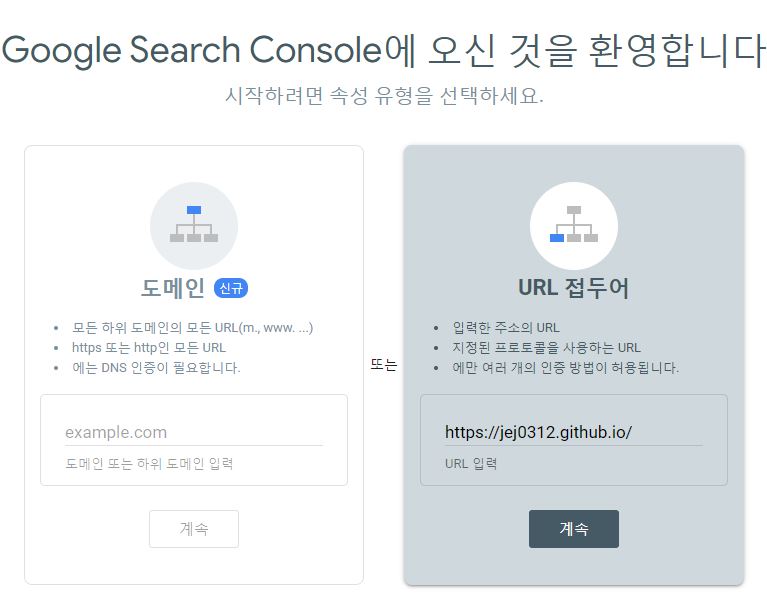
이 중 오른쪽의 ‘URL 접두어’에 github 블로그 주소를 작성하고 계속을 누른다.
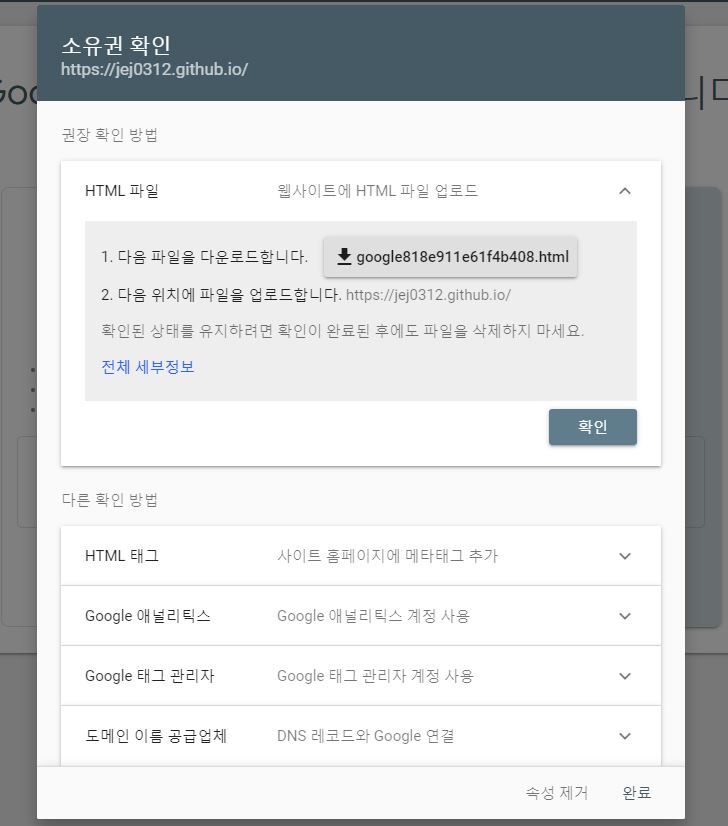
구글 검색을 허용하기 위해서는 사이트의 소유권 인증을 해야한다. 소유권 확인을 위해 html 파일을 다운로드 하고 root 디렉토리(_config.yml 페이지 위치)에 올린 후 push를 한다. 정상적으로 push된 후에 확인 버튼을 눌러 소유권 인증을 마무리한다.
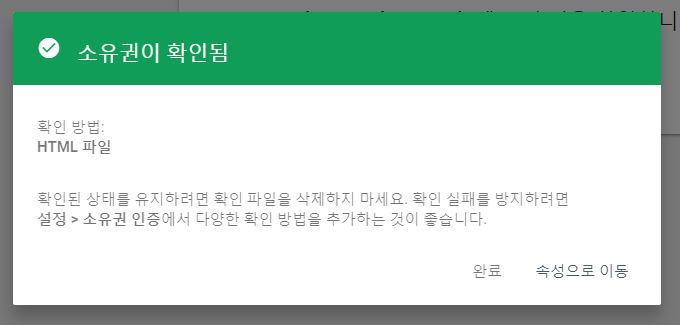
위와 같은 이미지가 뜨면 완료된 것이다. (완료까지 몇 십분이 소요될 수도 있으니 기다린다.)
Sitemap.xml
구글 검색 엔진이 웹사이트를 검색할 수 있도록 하기 위해 페이지의 목록을 나열한 파일을 업로드해야 한다.
Root 디렉토리에 sitemap.xml 파일을 생성하고 다음 내용을 복사한다.
    ---
    layout: null
    ---
    <?xml version="1.0" encoding="UTF-8"?>
    <urlset xmlns:xsi="http://www.w3.org/2001/XMLSchema-instance" xsi:schemaLocation="http://www.sitemaps.org/schemas/sitemap/0.9 http://www.sitemaps.org/schemas/sitemap/0.9/sitemap.xsd" xmlns="http://www.sitemaps.org/schemas/sitemap/0.9">
    {% for post in site.posts %}
        <url>
        <loc>{{ site.url }}{{ post.url }}</loc>
        {% if post.lastmod == null %}
            <lastmod>{{ post.date | date_to_xmlschema }}</lastmod>
        {% else %}
            <lastmod>{{ post.lastmod | date_to_xmlschema }}</lastmod>
        {% endif %}

        {% if post.sitemap.changefreq == null %}
            <changefreq>weekly</changefreq>
        {% else %}
            <changefreq>{{ post.sitemap.changefreq }}</changefreq>
        {% endif %}

        {% if post.sitemap.priority == null %}
            <priority>0.5</priority>
        {% else %}
            <priority>{{ post.sitemap.priority }}</priority>
        {% endif %}

        </url>
    {% endfor %}
    </urlset>
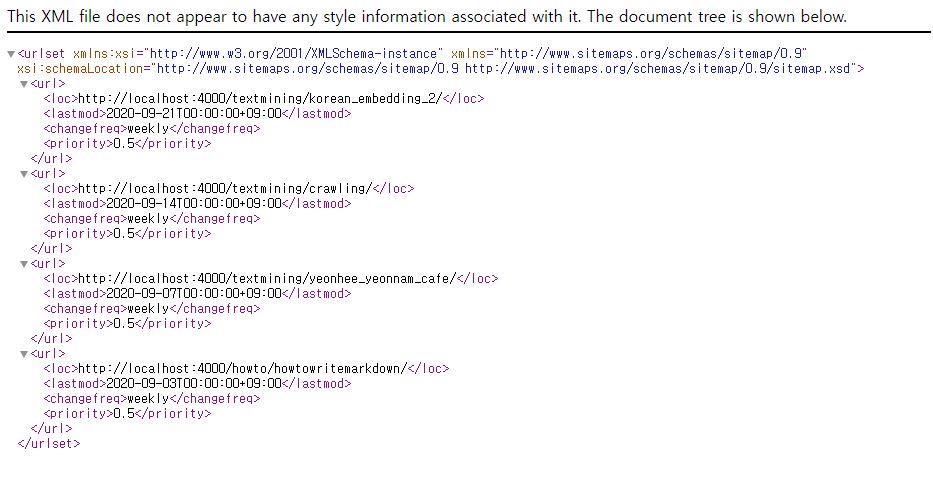
터미널에 bundle exec jekyll serve을 입력하고 http://127.0.0.1:4000/sitemap.xml이 제대로 출력되는지 확인한다.
제대로 출력이 된다면 다시 Google Search Console에서 등록을 한다.
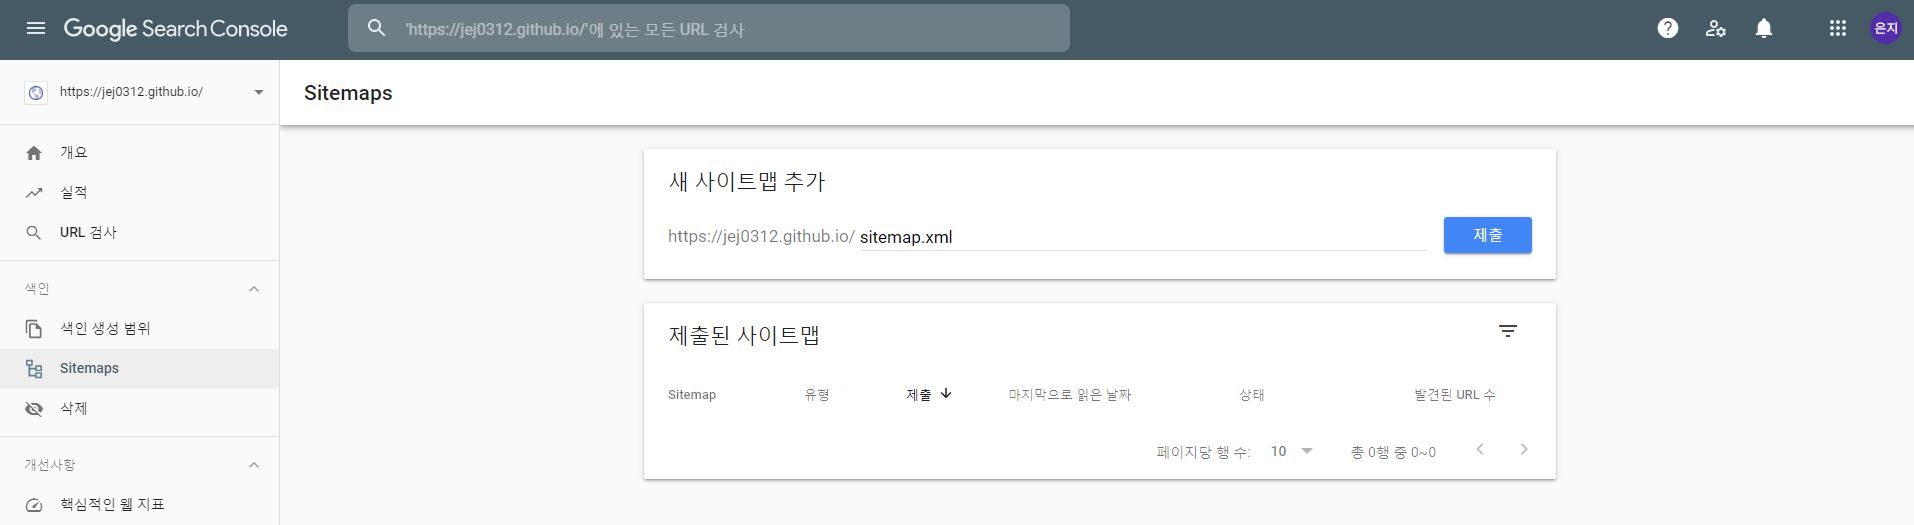
좌측의 sitemaps 탭을 눌러 새 사이트맵을 추가한다. 본인의 블로그 뒤에 ‘sitemap.xml’을 작성하면 된다.
며칠 후 site:본인의-blog-주소를 구글에 검색하면 제대로 검색이 되는지 확인할 수 있다.
Robots.txt
검색 로봇에게 웹사이트의 사이트맵이 어디에 있는지 알려주는 역할을 하며, root 폴더에 작성해야 한다. 참고했으면 하는 파일들을 설정해주면 해당 파일만을 참고한다.
robots.txt라는 파일을 생성한 후 다음 내용을 복사해서 붙여넣는다.
User-agent: *
Allow: /

Sitemap: 본인의-github-블로그-주소/sitemap.xml
Naver Search Advisor 등록
게시글에 대해 구글 검색이 가능하도록 하려면 네이버 서치어드바이저에 등록해야한다.
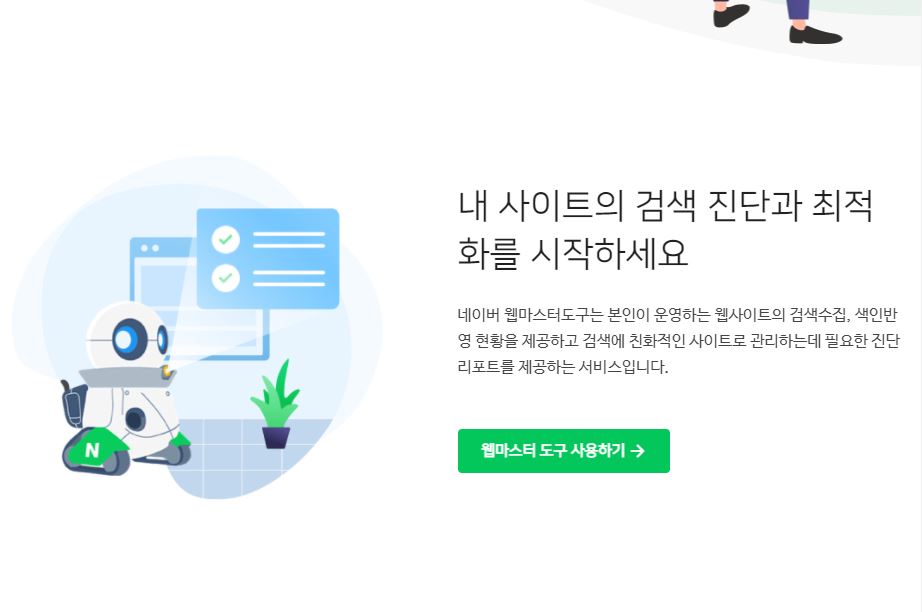
네이버 서치어드바이저에 접속해서 웹마스터 도구 사용하기를 클릭한다.

구글에 소유권을 등록했던 방식과 동일하게, html 파일을 root 디렉토리에 넣고 소유확인을 진행한다.
이번에는 root 디렉토리에 feed.xml 파일을 생성하고 다음 내용을 붙여넣는다.
    ---
    layout: null
    ---

    <?xml version="1.0" encoding="UTF-8"?>
    <rss version="2.0" xmlns:atom="http://www.w3.org/2005/Atom">
    <channel>
        <title>{{ site.title | xml_escape }}</title>
        <description>{{ site.description | xml_escape }}</description>
        <link>{{ site.url }}{{ site.baseurl }}/</link>
        <atom:link href="{{ "/feed.xml" | prepend: site.baseurl | prepend: site.url }}" rel="self" type="application/rss+xml"/>
        <pubDate>{{ site.time | date_to_rfc822 }}</pubDate>
        <lastBuildDate>{{ site.time | date_to_rfc822 }}</lastBuildDate>
        <generator>Jekyll v{{ jekyll.version }}</generator>
        {% for post in site.posts limit:30 %}
        <item>
            <title>{{ post.title | xml_escape }}</title>
            <description>{{ post.content | xml_escape }}</description>
            <pubDate>{{ post.date | date_to_rfc822 }}</pubDate>
            <link>{{ post.url | prepend: site.baseurl | prepend: site.url }}</link>
            <guid isPermaLink="true">{{ post.url | prepend: site.baseurl | prepend: site.url }}</guid>
            {% for tag in post.tags %}
            <category>{{ tag | xml_escape }}</category>
            {% endfor %}
            {% for cat in post.categories %}
            <category>{{ cat | xml_escape }}</category>
            {% endfor %}
        </item>
        {% endfor %}
    </channel>
    </rss>
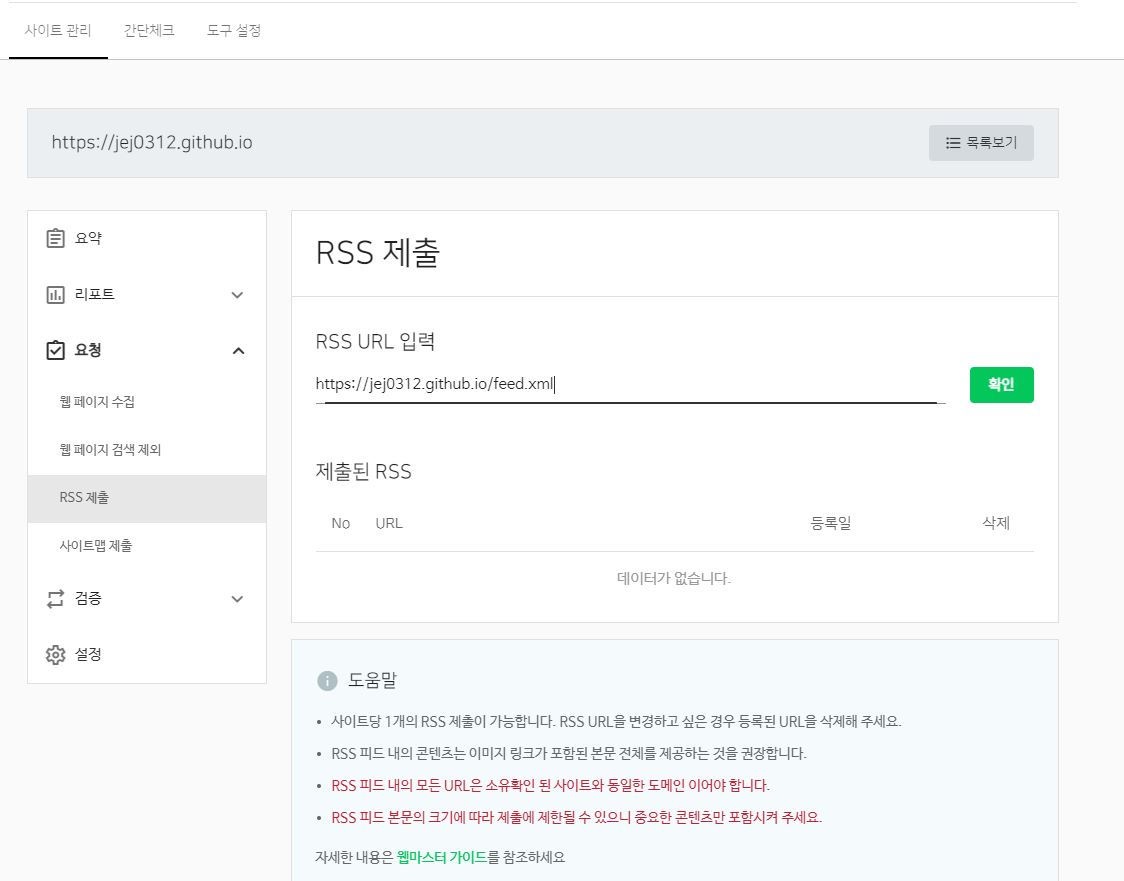
요청 탭의 RSS 제출을 통해 feed.xml 주소를 올린다.
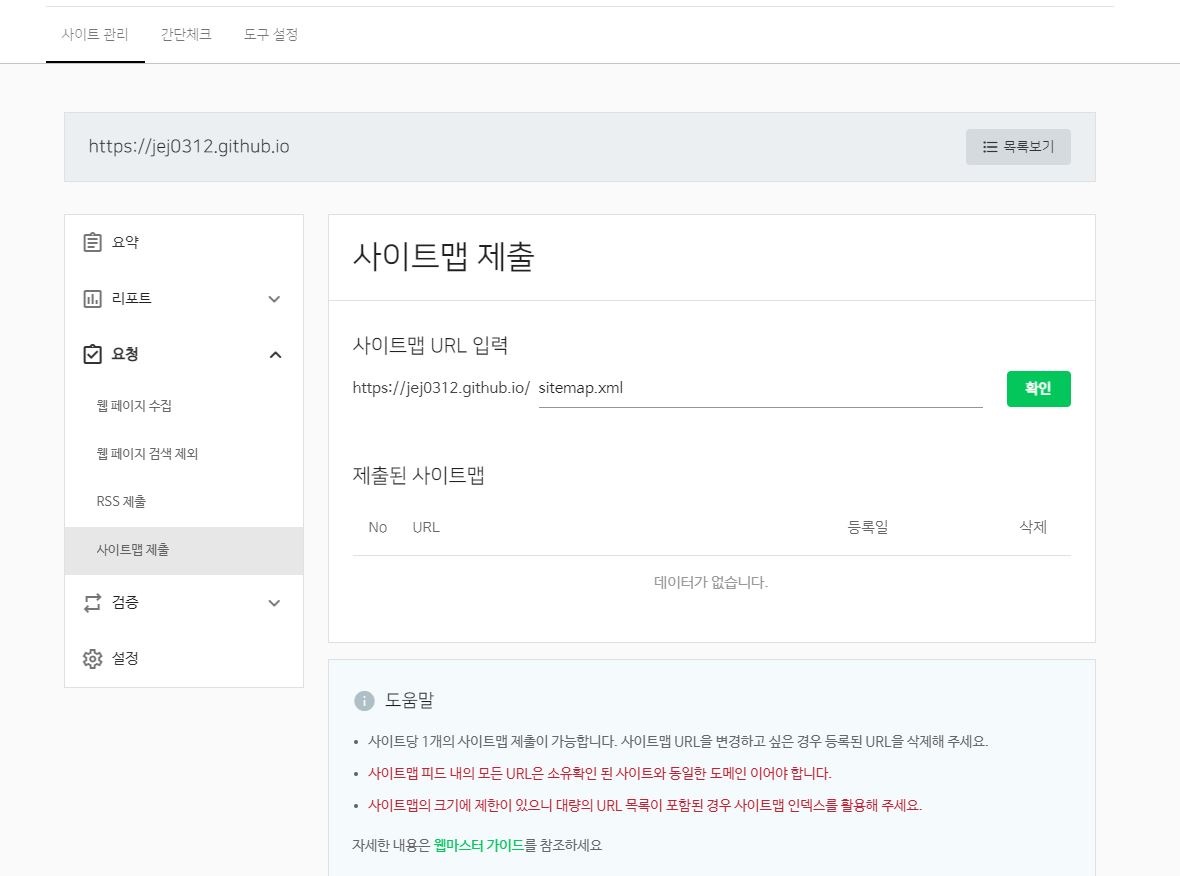
사이트맵 제출도 진행한다.
댓글남기기